Showing posts with label colors. Show all posts
Monday, May 16
Weekend DIY
Yesterday was full of DIY projects around the house, after spending most of the day Saturday running around town. First up was mowing the yard, and next I got started on some projects in the patio, including these frames I collected at garage sales over the last couple weekends. They will be used for enlarged photos of Scott and I when we were younger at our wedding party in a couple weeks, and they're all painted in colors I've got in my house, so after the party they'll find their way most likely into our bedroom.
Scott and the girls went up to the ranch yesterday to drag the road, so feline assistant Link was able to come and go as he pleased without the dogs around.
Freshly painted frames. At this point I was a little doubtful about the glossy red.
But once they were dry and I'd sanded them down a little for an aged/rustic look, I'm really glad I did the red. Just the yellow and green would be a little drab.
Speaking of drab, this is the closet space in the downstairs bedroom - minus the shoe storage and clothes bar that have been in there since I moved in. I decided it was high time to get rid of some of the blah brown color in that room, so I purchased a buttery yellow paint that goes with our bedspread, and got to work.
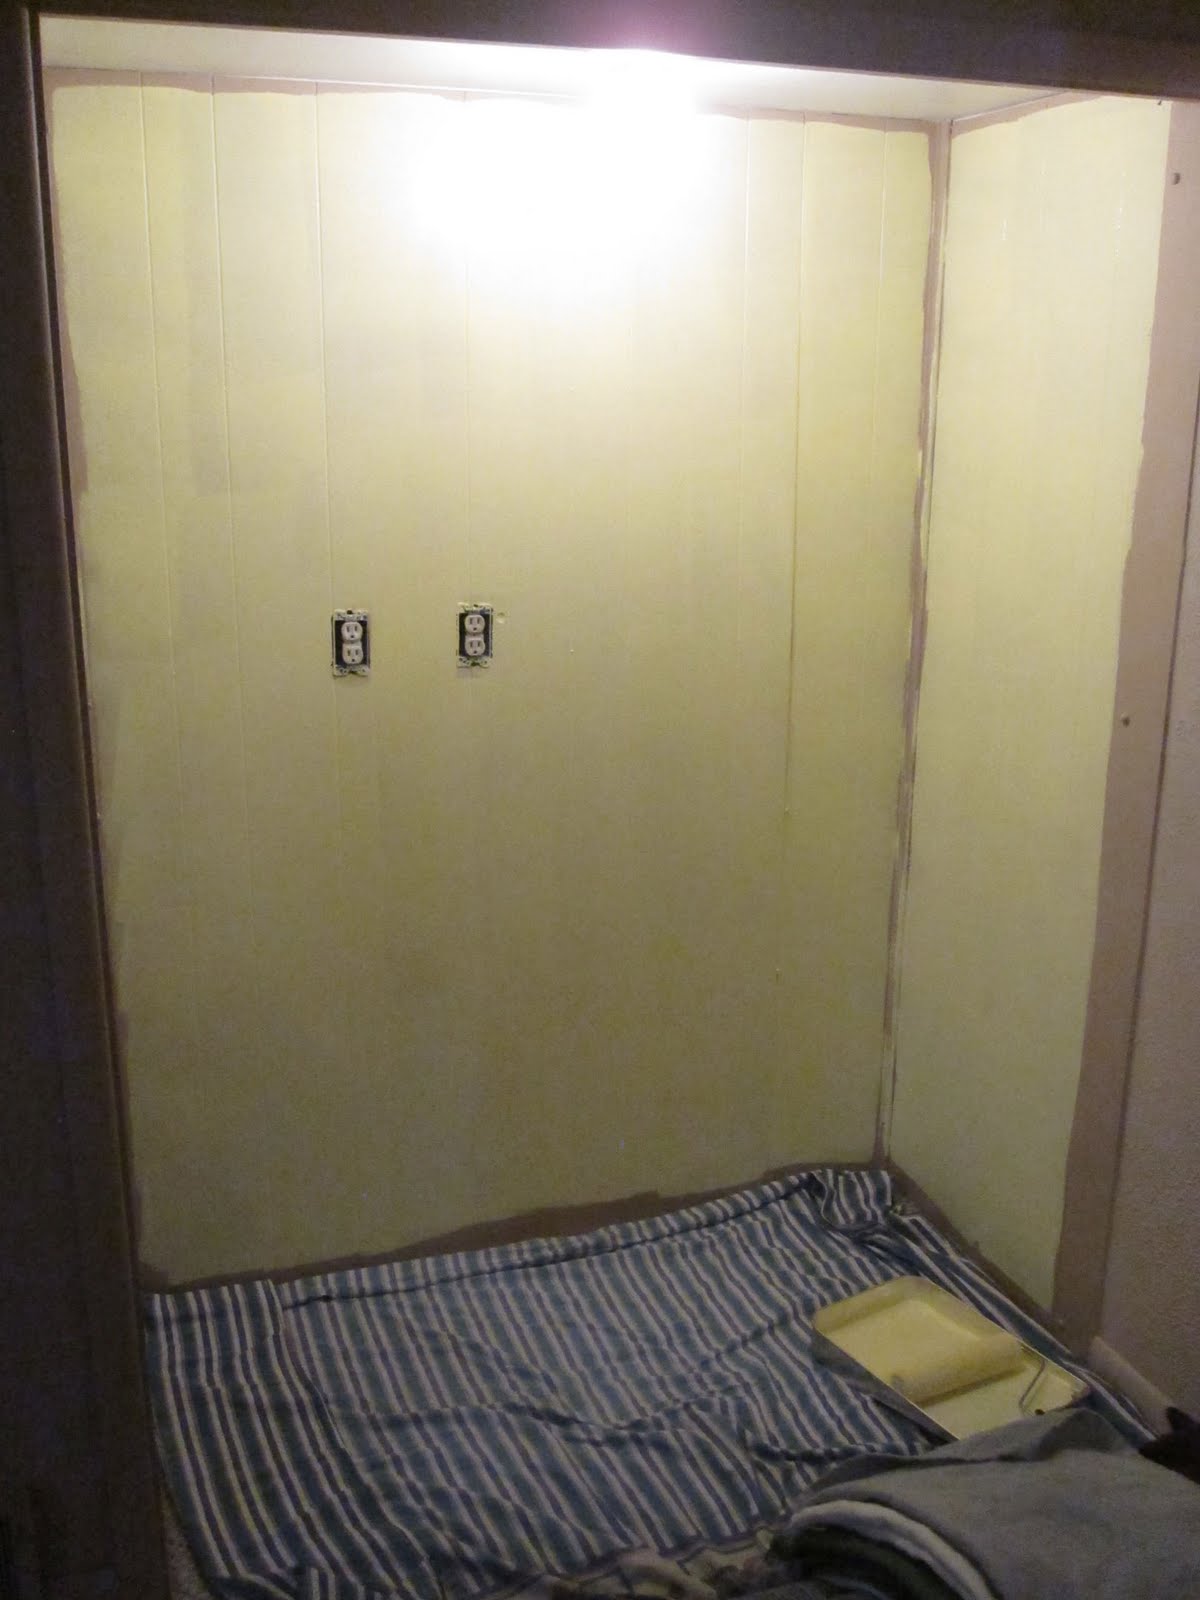
One coat.
Pretty sure this was after two coats. I've since applied a third coat, which got the job done, and I'm also painting the little recessed cubbyhole in the wall yellow. More pictures to come... the project still isn't quite completed. I ran out of weekend! There is a wire shelving unit to be installed in the closet space, and I'd like to paint the trim white to further brighten the space. Now that I'm started, I'm not so sure I won't end up repainting the entire room, but now that all of our furniture is in there, that would be a pain, and a project for a future weekend.
We have installed a shelving unit containing five six-foot-long shelves in the bedroom, to hold boots, hat boxes, jeans and whatever else, and so far the shelves have been their natural pine color. I finally finished that project yesterday, too.
This is the color they are now. So much better!
I also went to the fabric store and picked up the red and green checked fabric off the sale table. It took me a while to make up my mind what I wanted, but I think the checked fabric will work just fine, after putting it with a few of my other things for decorating under the tent at our wedding party in a couple weeks. So far I'm really pleased with how things are coming together.
Thursday, March 24
Favorite: Red and Turquoise
![]() |
Photo from House of Turquoise |
I have liked the color combination of red and turquoise/light blue for some time now, and House of Turquoise has a post full of rooms in that color combination.
I would love to make my laundry room into a finished space featuring these colors.
Friday, February 25
Nora's baby quilt
I have neglected to post photos of the project I was working on in January for Baby Seehusen, who we now know is Baby Nora, born Feb. 6 and interupting her father's Superbowl Sunday.
It had been a while since I'd undertaken a sewing project, but this one actually came together pretty quickly. To me, the most enjoyable parts of any sewing project, save for being happy with the final product, is visiting the fabric store to choose fabrics, colors, textures and patterns. The day I visited Hancock Fabrics my coworkers were beginning to worry about me in my absence. :-)
Since at that time we didn't know if Baby Seehusen was to be a boy or a girl - although I had thought from the beginning she would be a girl - I did my best to choose gender-neutral fabrics and actually was really pleased with how they turned out, not too girl or boy, and just the right amount of fresh spring-time feel, as well as a little 'farm' and 'country' thrown in.
The pattern of this quilt is called Log Cabin, and I was inspired by an article in one of my wintertime Martha Stewart magazines, which featured the pattern in different applications, one of them a pale blue/purple/gray seersucker baby quilt.
I decided on the color and pattern layout through trial and error, shifting things here and there before cutting the next pieces. I tried to vary the directions of the stripes on both the pale and bolder fabrics, thus the joining of fabrics in the long yellow piece, because I wanted the stripes to run lengthwise.
I love the pieces with the blue plaid. They're my favorite part of the quilt. Through cutting this out I decided that I would really like to have a rotary cutter - it would have been much easier to get straight even lines with one of those, rather than using my scissors and cutting mat. As it is, through being very careful, I managed pretty well.
Here it is partially sewn together. I was really paranoid about my seams getting crooked and everything getting off-kilter, so I took plenty of time and was very careful that everything matched up.
And of course my assistant Link put the same care into the piecing together as I did. Ok maybe not. Sorry, Holly, I tried to make sure the quilt was cat-hair-free, but there might be some lingering hangers-on that I didn't notice. Blame it on the feline assistant who insisted on being in the middle of the project.
Ta da! The whole top pattern sewn together, and very please with how it turned out. And loving the colors and the arrangement of patterns.
Yes, that is a seam ripper there next to my scissors. My seam ripper is one of my nearest and dearest sewing tools. I had a somewhat hard time sewing the top to the middle batting to the yellow fabric for the back. In hindsight, I should have cut both the batting and the backing several inches too large, then simply trimmed, instead of fighting with them to make them line up.
The next step was hand-stitching all the seams between color blocks, to make them stand out and add a little bit of a highlight and a homespun feel. It didn't take that long, after all, and was actually the part of putting the quilt together that I enjoyed the most.
Then came a part I had a tough time with - the binding. The edges were fine... it's the corners that confused me. And now if Holly looks at it I'm sure she'll be able to tell I had to do some improvising. It was either that or re-cut and re-sew the entire binding, and I was so close to finishing and didn't have enough fabric, so I made do with what I had.
I also debated about whether or not the blue plaid would look good on the binding, and had my doubts, but I ended up really liking it.
And, apparently, I completely forgot to take photos of the entire finished project. So instead, here is a parting shot of Assistant Feline doing what he does best.
Next project: Baby Ehlers. :-)
Thursday, November 4
red and powder blue
yesterday centsational girl posted reader suggestions on how to paint perfect stripes on walls. they were very helpful, and this photo - the colors especially - have me thinking i want to paint some stripes somewhere in my house. they're not a wall, but i would love to eventually get my basement steps to the point where i can paint them, banishing the tile.
Subscribe to:
Posts (Atom)